The Rolf project starts its life as a stock unmodified HiWonder TonyPi. So maybe a small review of the TonyPi is in order. I have spent some time looking for a humanoid robot kit to use as foundation for Rolf. The idea was that starting with a kit makes it possible to skip straight to the interesting bits of humanoid locomotion, while still being an open enough platform that can be extended, modified and hacked in the future once I’m more experienced.
The TonyPi has a lot of desirable qualities in its specifications. First of which is the relatively low price for all the features that come in the box. It cost $800 USD with shipping and import duties to get it shipped to Norway. Now, that is still a hefty price-tag but I struggled to find anything comparable thats seems to be more bang for less buck.
Main features
The Hiwonder website gives more details so I recommend glossing over that first, but here’s a summary of what I find most important.
- 16 servos for the body and 2 for the head giving 18DOF for the whole robot (2 more for grippers if buying the pro version)
- The servos are bus-controlled meaning less wire clutter, and one can poll the servo for encoder position
- The servo communication protocol is documented on their website (however a bit sparse on the datasheet)
- Uses a raspberry Pi as main compute module, meaning that installing ROS should be possible
- Included sw suite makes getting started easier.
- Camera included in head, computer vision is fun to play around with.
- 6DOF IMU included on the servo controller board
- Can be remote controlled via an app, maybe its possible to reuse the API as a remote controller for ROS
As you see above we get quite a lot here, now the servos might not be the best, the IMU is probably just alright, there’s no datasheet for the motor controller board, but hey it’s a start. To be honest this will be the first time I dip my toes into humanoid robotics and some components here are likely to be immediate bottlenecks when trying to create a better walking algorithm. Luckily, since I don’t know which I, get the pleasure to discover those later down the road.
Mechanical construction
This is my first humanoid robot so my basis of comparison is quite thin to say the least, but I can share some impressions. First of the robot chassis is created from bent sheet metal that is powder coated white with a nice shine and finish. The sheet metal seems quite thick and sturdy. There seems to be some extra holes in the sheet metal to play around with different mechanical mounting of the servos in the legs, but none of the holes seemed to align properly with the servos. I had hope that I could straighten out the one thigh a bit, but either I have to create new parts or drill into the existing ones. The leg is shown below, and ideally I would like the first and second servo from the left to be in line. Also shown the picture is the gigantic feet pads of the TonyPi, measuring 78,5mm wide and 113mm long.
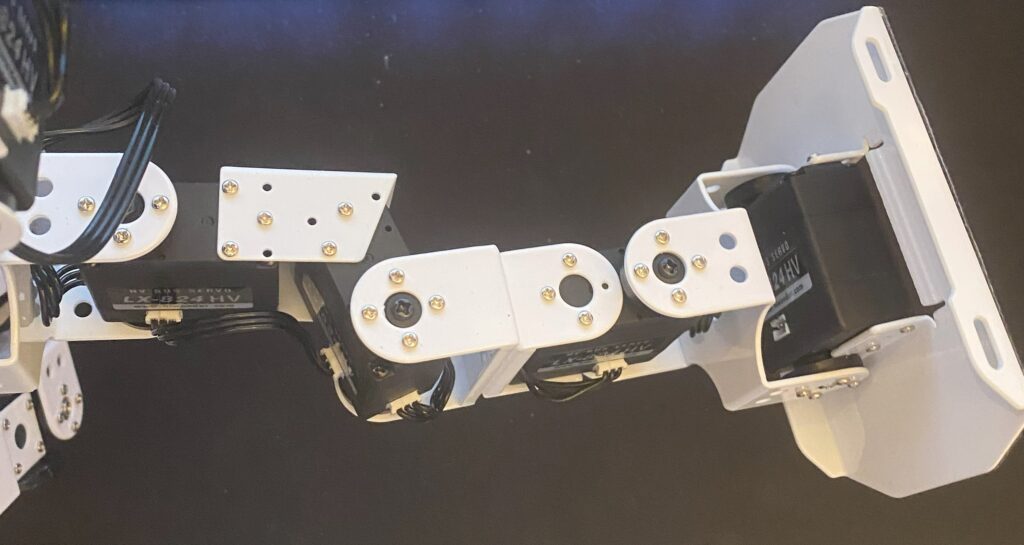
The leg is also missing one degree of freedoms in the hips, they cannot provide internal and external rotation, only hip flexion/extension and adduction/abduction. Luckily, the servo control board has room for many more servos. The max length of a daisy-chain of bus servos are 5 which the legs already have but the board has room for more chains and the arms are only 3 servos long (4 if buying the pro kit with grippers).
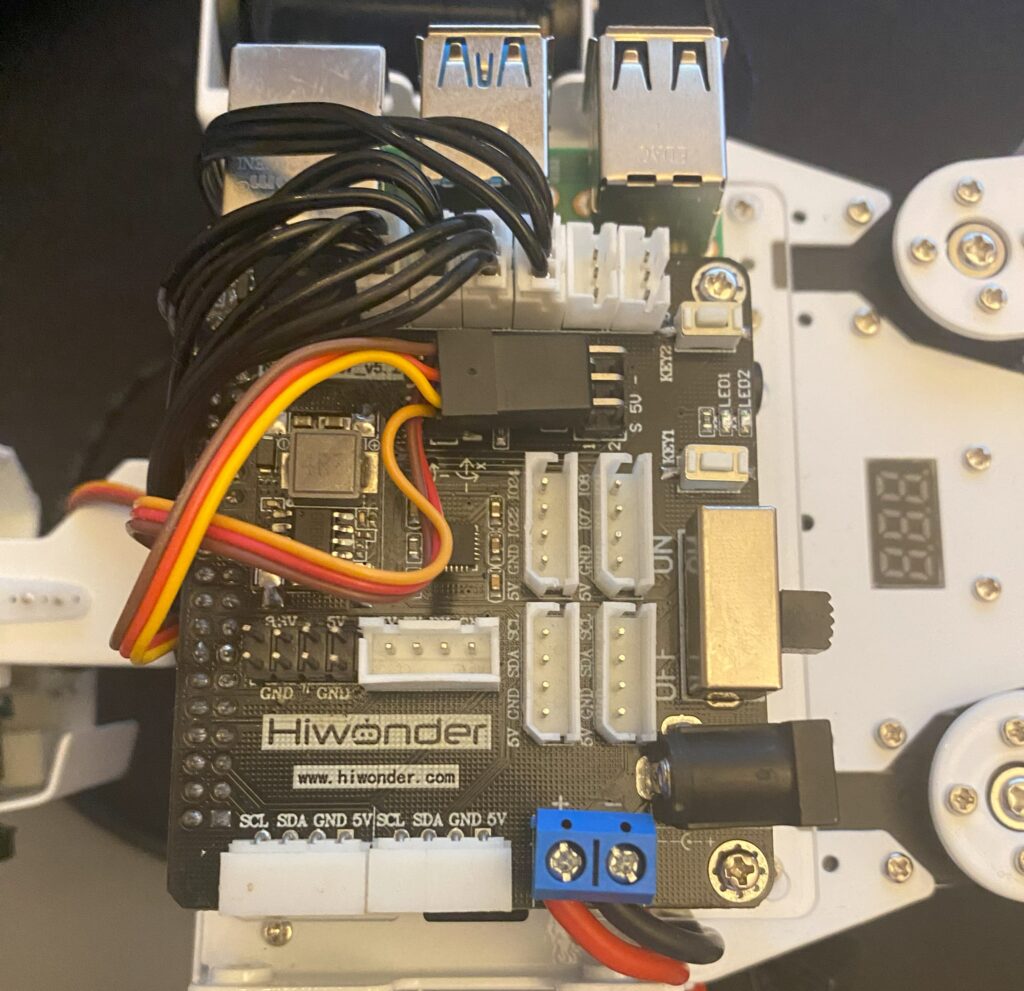
There are a couple pain points in the construction of the torso. First both the front cover to access the battery and the back cover to access the raspberry Pi and servo boards can only be accessed by removing 4 screws for each panel. The ethernet port of the raspberry pi as well as 2 of the 4 usb-A ports of the Pi cannot be accessed with the panel on, and on the other side getting the Pi’s SD card in and out has almost zero clearance and requires extremely nimble fingers on in my case careful use of pliers.
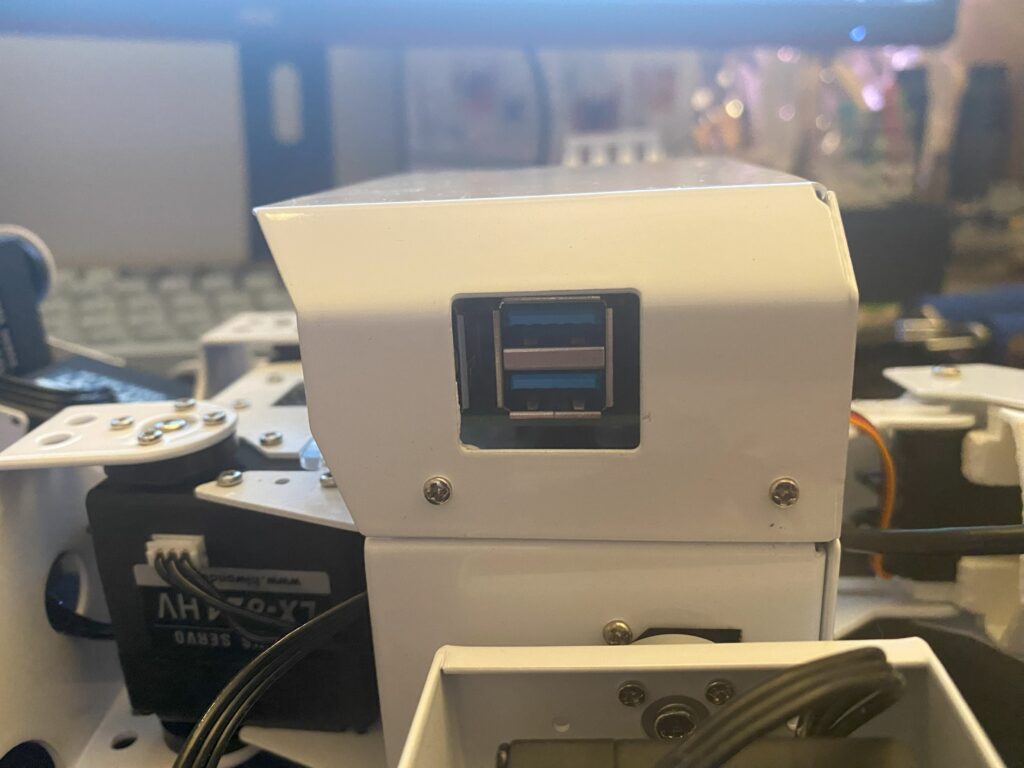
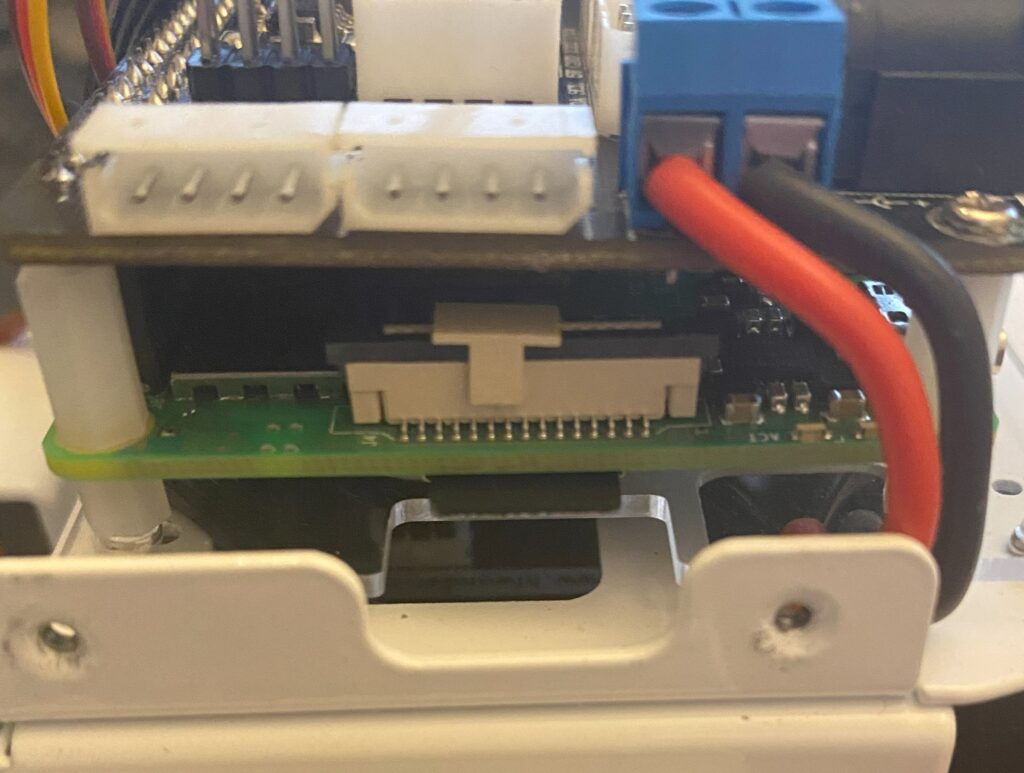
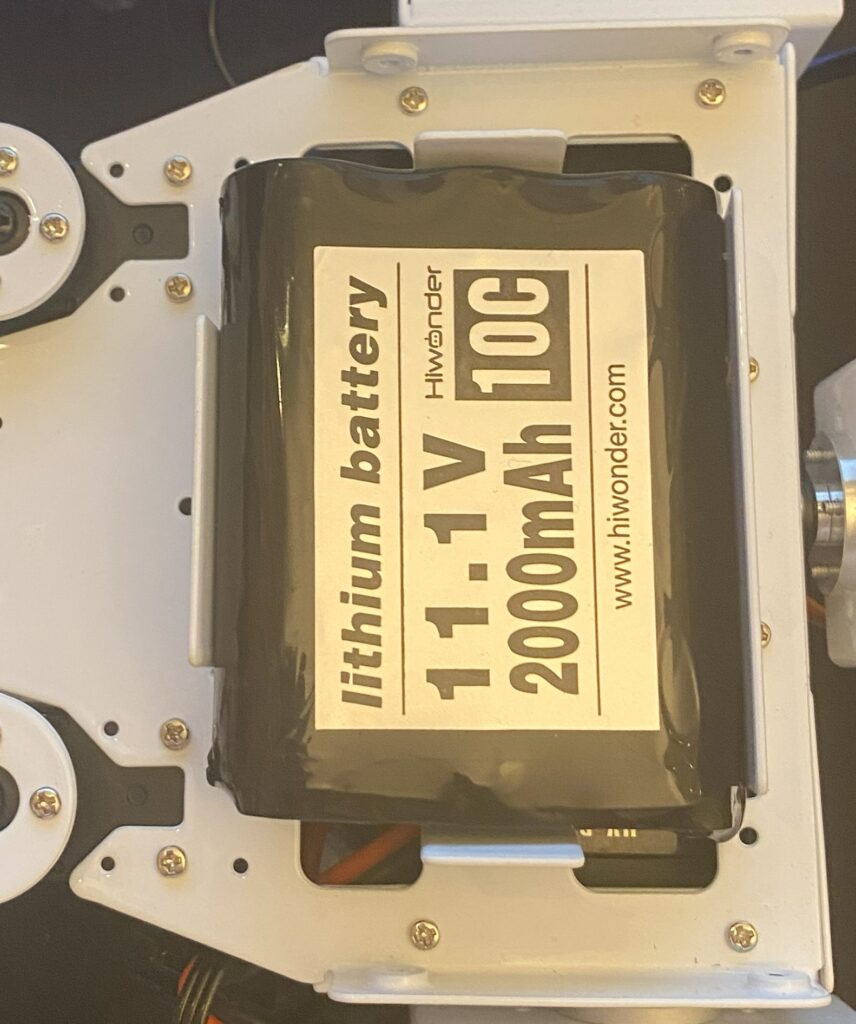
From left to right: The panel is hiding an ethernet port and two usb ports. Just below the green pcb in the middle picture we can see the sd card peeking out, but access is restricted by the white bent sheet metal in front. Lastly the battery is held tightly in place by bent sheet metal prongs, expanding to a larger battery would necessitate filing away those prongs.
Lastly, on the mechanical side of things, the camera lense on the head protrudes further than the chest piece, meaning if the TonyPi falls forward it will land on its face and the camera is the first point of contact with the ground. This means that you have to be careful when working on the robot while its laying on its stomach.
Included SW
The TonyPi comes with a 16Gb sd card preloaded with the Raspberry Pi OS and some SW to interface with the Hiwonder motor controller and their mobile app for remote control. Note that the OS is set to Chinese by default, but can be changed by launching a program from the desktop. The Hiwonder website has instructional guides and videos available for getting connected to the TonyPi and playing around in its sw environment. Here’s a direct link to the download page. Note that they supply their own specific version of VNC viewer instead of directing you to a general download page which is a bit sketchy. I recommend downloading an alternative viewer from a trusted source in stead just to be safe.
I want to delve deeper into more detail on the Hiwonder sw and how we can incorporate the TonyPi into a ROS environment, but I’m saving that for a later post.
Walking motion and poses out of the box
The TonyPi is capable of performing basic locomotion, performing simple preprogrammed gestures and right itself if it falls over. Above are some videos illustrating this. The videos are not sped up and shows that the walking speed is pretty slow and seems to be a preprogrammed stable gait loop. It also has no way to blend commands and sideways skipping, turning or forward walking can only be performed independently. The TonyPi also comes with some preprogrammed mini-games of sort. It can detect and kick a ball, recognize faces, color recognition and if you buy the pro version you get parts for constructing a simple obstacle course. I played around with them for a bit but they lost their novelty quickly.
Other Bits and bobs in the box
Additional stuff was included in the box. The list is shown below:
- charger with a US plug
- SD card to USB reader
- 3 small plastic balls
- some spare screws
- super basic screwdriver
None of the above provide much added value, I guess the sd card reader is always nice as I seem to lose them all the time.